Did you know a simple weekend project can save your family over $300? That’s the average cost difference between buying new and revitalizing a well-loved dresser or table.
Breathing new life into worn-out items is an incredibly rewarding do-it-yourself activity. It lets you create custom, colorful creations that perfectly match your child’s room.
This complete walkthrough is designed for everyone. You don’t need professional experience, just a bit of patience and the right approach. We’ll show you how to achieve stunning, durable results.
From setting up your workspace and picking the safest, best products to applying finishes that withstand daily adventures, every step is covered. Transform a single chair or an entire set with confidence.
You’ll gain insider knowledge on working with various materials, selecting joyful colors, and sidestepping common errors. Let’s turn those old pieces into cherished favorites.
Key Takeaways
- This process saves significant money compared to buying new items.
- Anyone can achieve great results with the right techniques and a little patience.
- Proper preparation is the most critical step for a long-lasting finish.
- Choosing products designed for durability and safety is essential for children’s spaces.
- You can customize colors and themes to create a unique, personal look.
- Avoiding common mistakes ensures a smooth project and professional-quality outcome.
- The entire transformation can be completed over a weekend.
Preparing Your Workspace and Furniture
A successful transformation begins long before the first brushstroke. Proper setup protects your home and makes the entire process smoother.
Use drop cloths or cardboard to shield floors. Ensure the area has good airflow, particularly when spraying.
Effective Cleaning Techniques and Primer Application
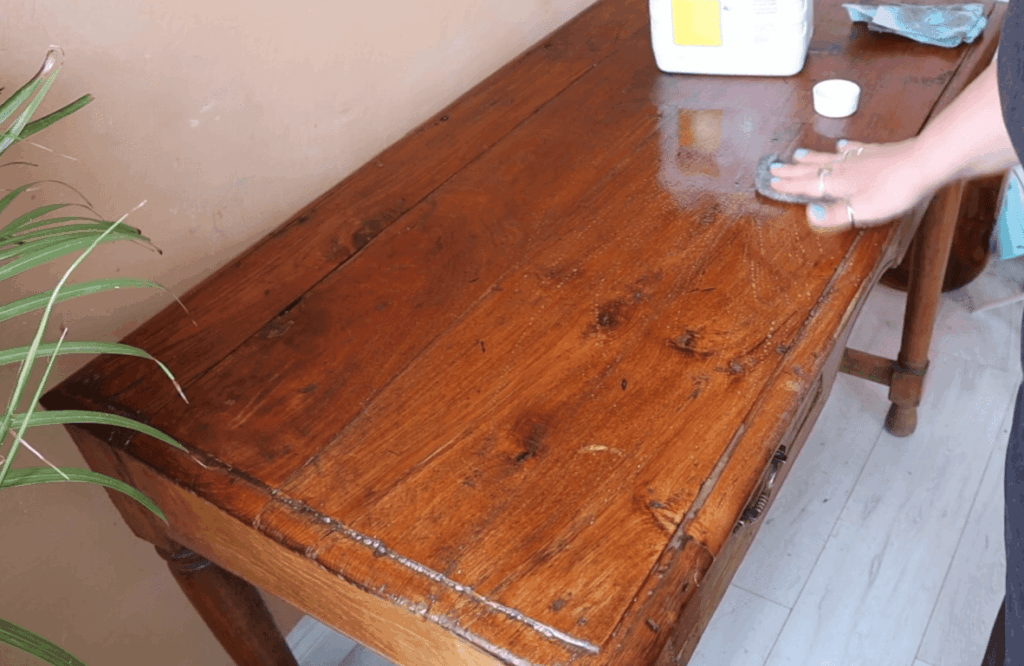
Begin with a deep clean. A degreaser mixed with warm water cuts through dirt and old wax. Always wear gloves for safety.
Rinse thoroughly with clean water to remove all cleaner residue. This step is non-negotiable for strong paint adhesion.
Primer is not always needed. It’s essential when switching from a dark to a light color. A spray primer gives a fast, uniform base coat.
If the primer feels gritty, a quick wipe with a cloth smooths it perfectly.
Sanding, Removing Hardware, and Material Selection
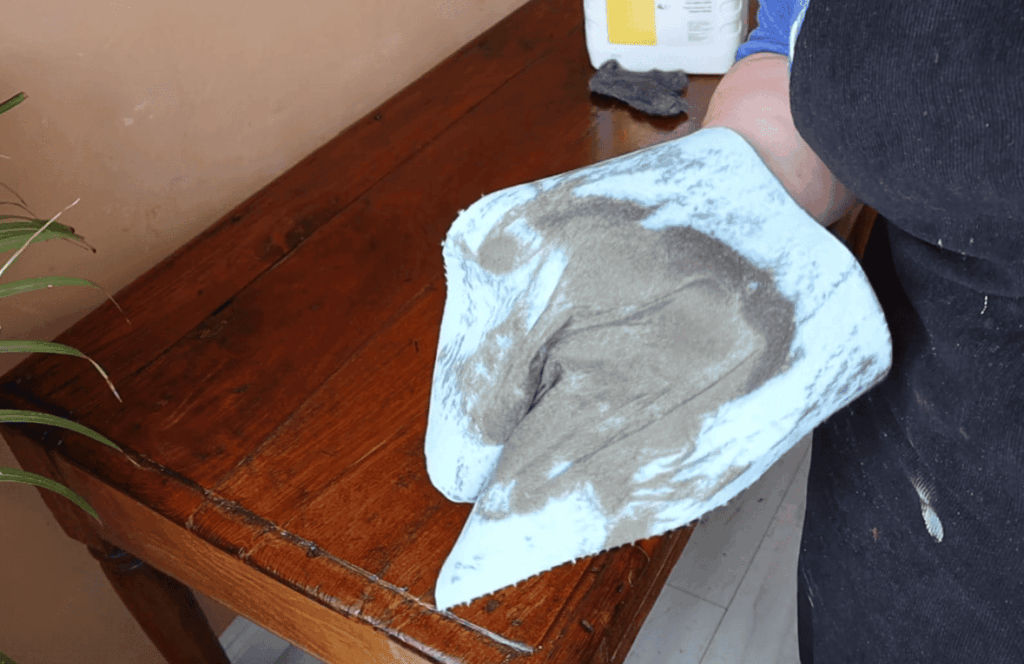
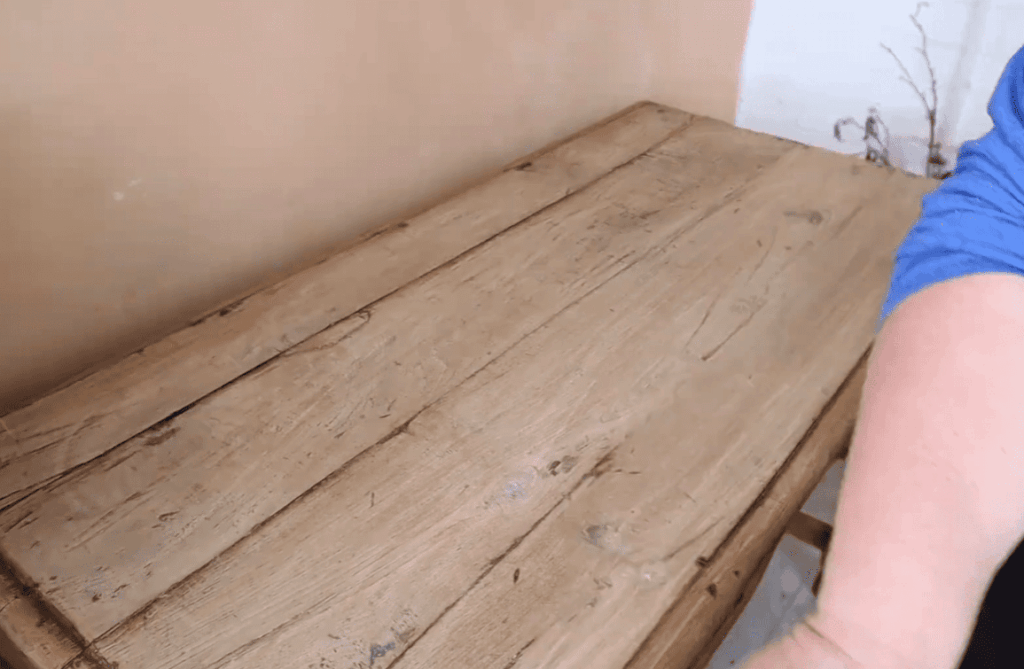
A light sand with fine-grit paper removes shine and helps the finish grip. It’s a small task with a big impact.
Always remove knobs, handles, and hinges. This protects the metal and allows for complete, even coverage along the edges.
Identify your piece’s material. Solid wood often requires more prep than laminate. Select primers and paints made for furniture—they withstand daily use much better.
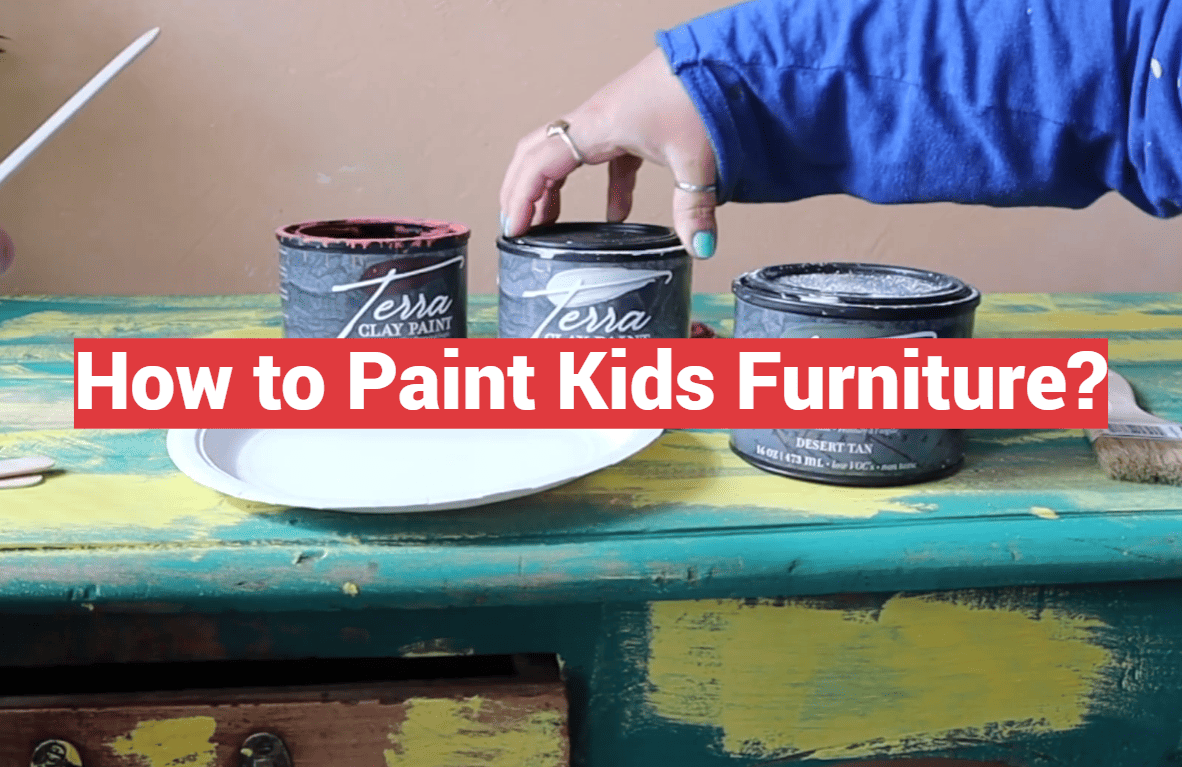
Step-by-Step Guide: How to Paint Kids Furniture?
The most enjoyable stage involves infusing personality and vibrant color into your prepared item. This segment walks through laying a smooth foundation and adding those special, custom details.
Applying Base Coats and Choosing the Right Tools
Start with a high-quality brush or a small foam roller. These tools help achieve an even, streak-free base layer. Apply thin coats and let each dry fully.
Multiple thin layers are far superior to one thick, drippy application. Patience here ensures a durable surface that withstands daily use.
For large, flat areas, a mini roller speeds up the process. Always follow the wood grain for a professional appearance.
Creating Stripes, Stencils, and Detailed Finishes
For crisp stripes, use painter’s tape made for delicate surfaces. FrogTape is an excellent choice. Use a strip of the tape itself as a spacer for perfectly even lines.
Apply three coats of your accent color, like Dixie Belle Cotton, within the taped areas. Remove the tape immediately while the color is still wet for sharp, clean edges.
Once the stripes dry, sand lightly to smooth any raised texture. This integrates the new design seamlessly.
Stencils introduce charming themes, like beach motifs or animals. Secure them with a light spray adhesive. Then, pounce acrylic craft color using a sponge piece with straight sides.
Work slowly to prevent bleeding under the edges. A script liner brush is ideal for final touch-ups. After drying, a light sanding blends everything smoothly into the base coat.
Expert Tips for a Professional Finish
The difference between a good result and a great one often lies in the final details and smart product choices. A little extra know-how ensures your creation stands up to daily adventures and keeps its charm for years.
Tool and Product Recommendations for Long-Lasting Results
Always verify your chosen paint is formulated for furniture, not just walls. Look for water-based options that are low in VOCs and free from harmful additives.
These products offer durability and easy cleanup. Pair them with quality brushes or a small foam roller for a smooth application.
Select the right protective topcoat. A waterproof sealer is essential for a tabletop, while a decorative shelf might only need a light wax.
Avoiding Common Mistakes and Enhancing Durability
The most frequent error is applying paint too thickly. Multiple thin layers dry faster and resist chipping much better than one gloopy coat.
Check for drips immediately after applying each layer. Catching them wet saves tedious sanding later.
Work from the details outward. Paint corners, spindles, and tight spaces first. Then, move to large, flat surfaces.
Never rush the curing process. Allow at least 48 hours before use. This patience prevents scratches and marks.
Swap out old, worn knobs and hinges. New hardware is affordable and elevates the entire look. Store leftover color properly for future touch-ups.
If a piece gets scuffed later, you can often buff the mark out with more wax. Quality finishes are designed to be repairable.
Conclusion
Revitalizing a beloved item for a child’s room is a deeply satisfying creative endeavor. You end up with a custom, durable piece that brings personal joy and saves significant money.
Anyone can achieve a professional-looking finish. The secret lies in thorough prep work, applying multiple thin coats of paint, and allowing proper drying time. A good sealant locks in your hard work for years.
Feel free to experiment with bold color and fun details. These techniques work on single items or entire sets of pieces. Your unique style will shine through.
Now you’re ready to begin. Gather your supplies, select your first project, and enjoy the process. Transforming furniture for kids is a rewarding weekend activity with lasting results.