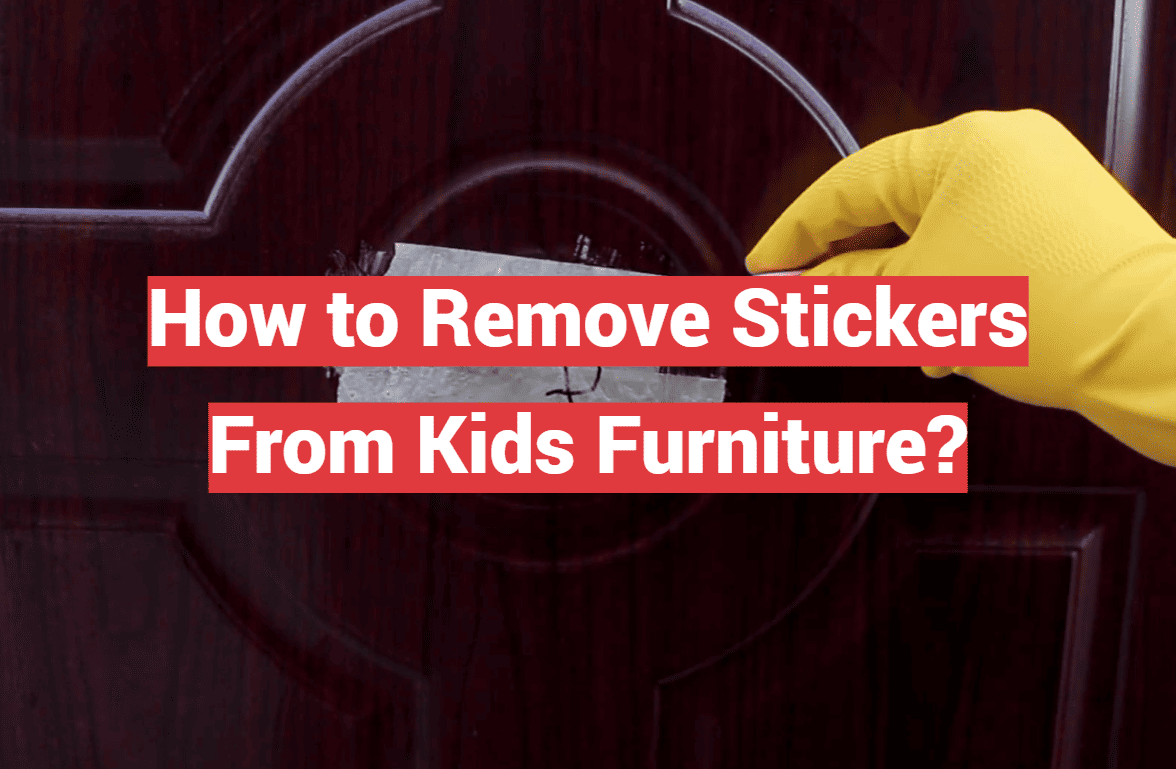
Did you know the average child’s room can accumulate over 50 decorative decals on its furniture by age five? These colorful adhesives are a beloved part of childhood creativity.
They also have a notorious habit of finding a permanent home on tables, chairs, and dressers. Many caregivers feel a wave of dread at the thought of tackling this mess, worried about ruining a finish.
Here’s the good news: restoring a piece is often simpler than you imagine. With a few gentle techniques, you can lift those decals and any sticky residue without harm.
You likely have everything you need already in your pantry or cleaning cabinet. This knowledge saves money and keeps perfectly good items out of landfills.
Our guide shares proven, parent-tested methods for removing stickers from various surfaces. Let’s turn a frustrating chore into a quick win.
Key Takeaways
- Decorative adhesives on children’s items are an extremely common household challenge.
- The fear of damaging furniture finishes during cleanup is understandable but often unnecessary.
- Effective techniques are straightforward and tailored to different materials and glue types.
- Common household products are usually all you need, avoiding costly specialty solutions.
- Learning the right way to clean surfaces allows for furniture upcycling and supports sustainable living.
- Real-world, tested strategies provide confidence that the job can be done successfully.
- Managing this type of mess is a normal part of family life with simple solutions available.
Understanding Sticker Residue on Kids Furniture
Not all sticky messes are created equal; the residue on a table tells a story about the glue and the surface it clings to.
Knowing this story is the first step to a clean finish.
Common Sticker Adhesives and Their Effects
Children’s decals use a range of glues. Temporary reward stickers have mild adhesive. More permanent vinyl decals use a stronger bond.
Most are pressure-sensitive adhesives. They activate when pressed onto a material. Over weeks, this glue cures and hardens.
That’s why older decals become a tougher challenge. The adhesive transforms into a stubborn, gummy residue.
How Sticker Residue Impacts Different Surfaces
The furniture material changes everything. Porous surfaces like raw wood soak up the glue. It gets trapped in the grain.
Sealed or painted finishes create a barrier. The sticky residue often sits on top, which can be easier to tackle. Heat and sunlight also play a role.
They can bake the adhesive onto the surface, making it extra tenacious.
| Surface Type | Adhesive Interaction | Removal Implication |
|---|---|---|
| Painted Wood | Glue bonds to the topcoat. | Gentle solvents work well; avoid abrasives. |
| Laminate & Plastic | Non-porous; residue sits on surface. | Oils or rubbing alcohol can be effective. |
| Untreated Wood | Porous; adhesive soaks into grain. | Requires careful, deeper cleaning to lift glue. |
| Metal & Glass | Smooth, non-absorbent surface. | Residue often peels off easily with heat. |
This knowledge lets you match the method to your specific sticker residue situation. You can approach the clean-up with confidence.
Why Stickers End Up on Kids Furniture
For many families, those colorful decals are as common as toys and picture books. They flow into homes from countless places like Target, the dentist, or farmers markets.
Children receive them as rewards and collect them as treasures. This makes the adhesives a constant presence in a kid-friendly environment.
It’s natural for these items to find their way onto various surfaces within reach. Little ones see their world as a canvas for expression.
Everyday Causes in a Kid-Friendly Home
Young children often view their bedroom furniture as an extension of personal space. A dresser or play table sits at the perfect height for creative decorating.
This activity is rarely about mischief. It’s a normal part of childhood exploration and identity formation.
The sheer volume of these items makes supervision a real challenge. Kids have sticker books, reward charts, and collections accumulated over time.
During independent play or sibling activities, furniture often becomes a target. Bedframes, desks, and chairs in play areas naturally accumulate these labels.
Understanding these everyday causes helps caregivers approach the situation with patience. It’s a sign of a creative, expressive child, not a discipline issue.
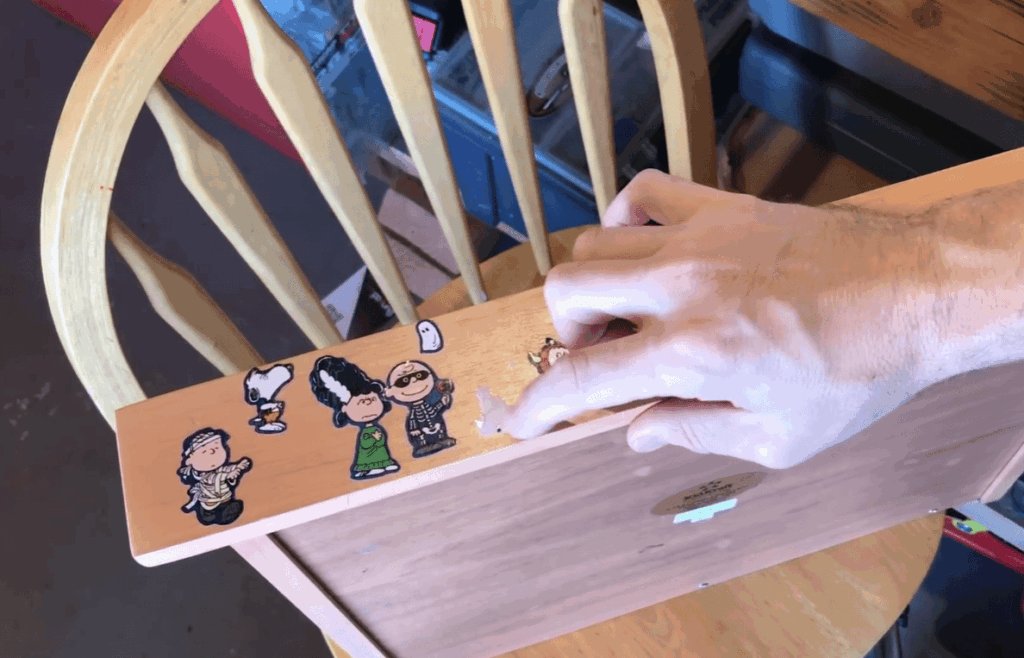
How to Remove Stickers From Kids Furniture?
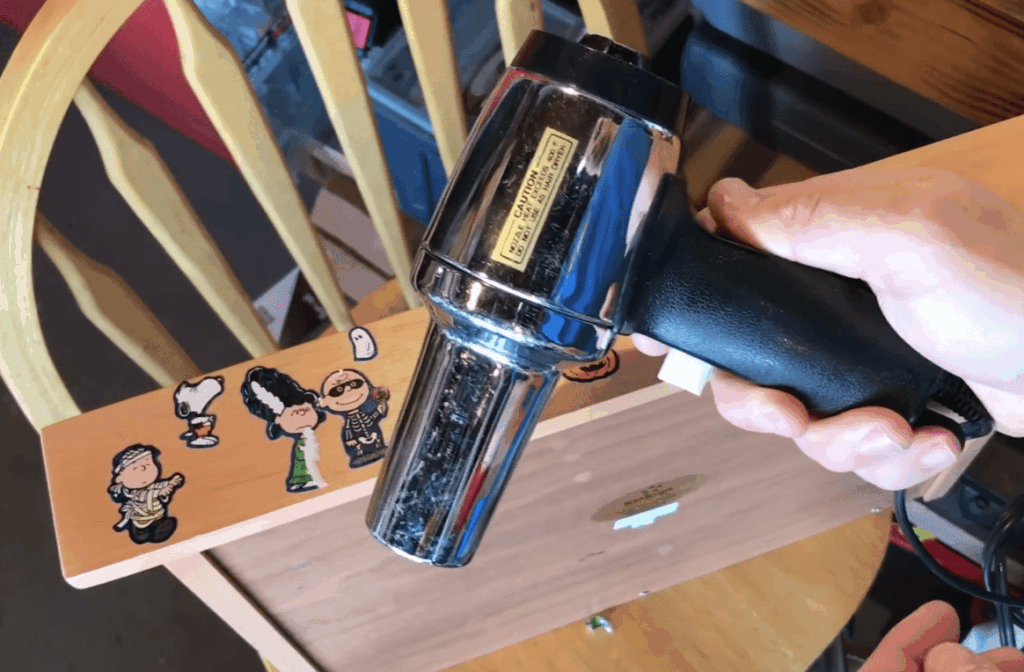
A simple hair dryer and some cooking oil are often the only tools needed for this common cleanup. These two parent-tested strategies tackle adhesive residue without damaging finishes.
Both approaches are gentle and effective. They turn a frustrating chore into a manageable task.
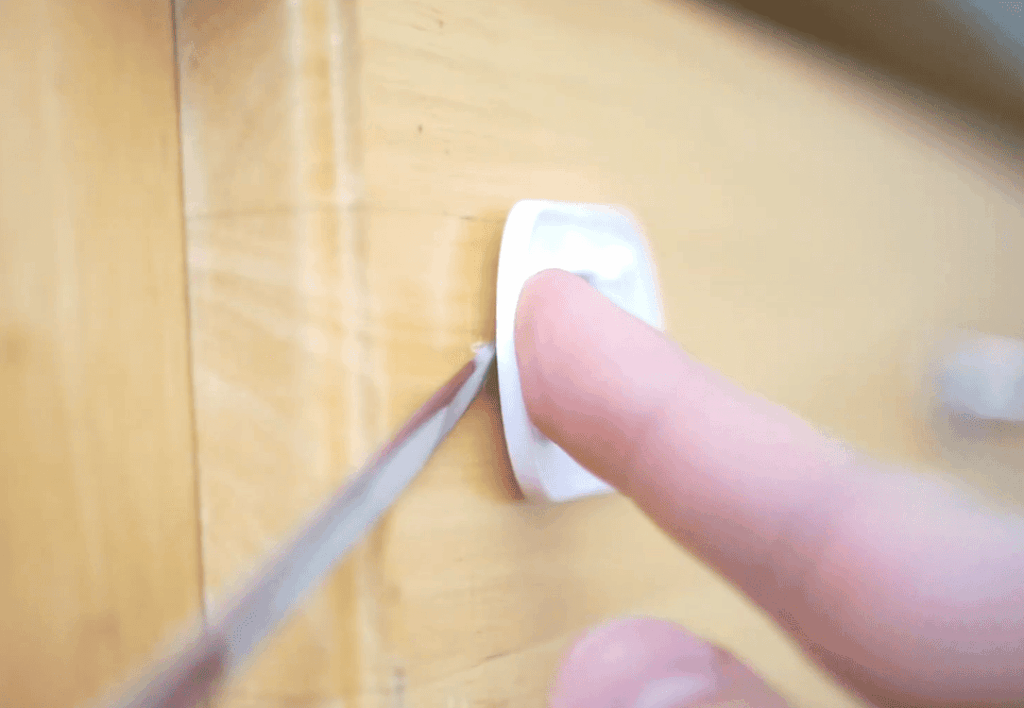
Using Heat and a Scraper for Effective Removal
Set your hair dryer to a low or medium setting. Hold it a few inches from the decal for 20-30 seconds.
The warmth softens the glue. You will see the edges begin to curl. Gently lift a corner with a plastic scraper or your fingernail.
Peel slowly. If adhesive remains, apply more heat and wipe with a cloth. This method works because heat loosens molecular bonds.
Be extra careful with plastic surfaces. They can warp from too much direct heat.
Alternative Solvents and Oils That Work
Common cooking oil breaks down sticky glue. Apply a generous amount to the label with a rag or your fingers.
Let it sit for several minutes to penetrate. The oil dissolves the adhesive from the inside out.
Use a credit card edge to push the loosened material away. Finish by wiping the area with a soapy cloth to remove any oily residue.
This technique is superb for wood furniture. Baby oil or petroleum jelly also works well.
| Method | Best For | Key Steps | Cautions |
|---|---|---|---|
| Heat | Quick removal; non-plastic surfaces | Apply heat, peel, wipe residue. | Avoid warping sensitive materials. |
| Oil | Delicate finishes; wood furniture | Soak, scrape, clean with soap. | Requires extra cleaning to remove oil. |
Choose the heat method for speed on sturdy items. Opt for an oil-based solution when preserving a delicate finish is the priority.
Essential Tools and Materials for Removing Stickers
Your kitchen and cleaning cabinet likely hold all the necessary tools for tackling adhesive residue. Gathering the right material turns a daunting job into a simple process.
You can handle most situations with everyday items. For stubborn cases, a few specialized products make a big difference.
Handy Household Items You Likely Have
A hair dryer provides gentle heat to loosen glue. A plastic scraper or old credit card lifts labels without scratches.
Soft rags and paper towel are perfect for wiping. Common pantry items work as solvents.
Cooking oil or peanut butter breaks down sticky glue. White vinegar cuts through residue.
Rubbing alcohol is a powerful cleaner for non-porous surfaces. Always test a small area first with any product.
Specialized Tools for Tough Residue
Commercial adhesive removers like Goo Gone are formulated for tough glue. They are a reliable tool for vinyl decals.
WD-40 lubricant spray can dissolve cured adhesive. Use it in a well-ventilated space.
Acetone, found in nail polish remover, works on glass or metal. It can damage some finishes.
A rubber eraser buffs away leftover gunk. Furniture polish cleans and restores shine in one step.
| Tool / Product | Primary Use | Best For Surface |
|---|---|---|
| Plastic Scraper & Hair Dryer | Lift decals with heat | Painted wood, laminate |
| Cooking Oil & Soft Cloth | Dissolve adhesive residue | Delicate wood finishes |
| Rubbing Alcohol | Clean non-porous surfaces | Plastic, metal, glass |
| Commercial Adhesive Remover | Attack stubborn glue | All sealed surfaces |
| Rubber Eraser | Buff away gummy residue | Smooth, hard finishes |
Keep these products together in a caddy. You’ll be ready for any sticky surprise.
Step-by-Step Process for Safe Sticker Removal
A successful clean-up begins with careful preparation, not just the right solvent. Following a clear sequence protects your furniture and makes the job smoother.
Rushing often leads to torn decals and more residue. Patience is your most valuable tool here.
Preparing Your Furniture and Work Area
Start by clearing the space around the item. Lay down a towel to catch drips.
Gather your chosen method and tools before you begin. Always test your solution on a hidden spot first.
This ensures no damage to the finish. If using a chemical like rubbing alcohol, work in a well-ventilated area.
Detailed Removal Techniques and Timing Tips
Apply your chosen agent generously over the decal. The crucial step is to let it sit.
This allows the solution to break down the adhesive. Different products need different contact times.
- Rubbing alcohol or white vinegar: let sit for five minutes.
- WD-40 spray: also requires about five minutes.
- Peanut butter needs a full thirty minutes to work.
After waiting, gently lift a corner. Peel slowly at a low angle.
If you feel resistance, apply more solution and let sit for a few more minutes. Never force it.
For final cleanup, wipe the area with warm, soapy water. Dry it with a clean cloth.
Inspect closely to ensure all sticky residue is gone. Your piece should look good as new.
Specialized Techniques for Different Furniture Surfaces
The secret to a perfect clean-up lies in matching your technique to the furniture’s material. What works on a wooden table can harm a plastic chair.
This tailored approach protects finishes and gets better results.
Removing Stickers from Wood and Painted Finishes
For wood furniture, common cooking oil is a champion. Rub it into the decal and let it penetrate.
Use a credit card edge to gently scrape. Wipe the area with a soapy cloth afterward.
On painted wood, distilled white vinegar is ideal. Soak a rag and lay it over the sticker for five minutes.
The vinegar dissolves the adhesive without harming the paint. Gently scrape with a soft cloth.
Methods for Plastic, Metal, and Glass
Plastic items respond well to peanut butter. Spread it on, wait thirty minutes, and wipe away.
You can also start with warm water, then use vegetable oil if needed. Avoid acetone.
For metal, a spray of WD-40 works wonders. Let it sit briefly, then wipe the sticker and residue clean.
Glass surfaces are simple. Pour hot water over the label, then scrub with dish soap.
Rubbing alcohol also gives a streak-free finish.
| Surface | Recommended Method | Key Steps | Avoid |
|---|---|---|---|
| Wood | Cooking Oil | Apply oil, wait, scrape with card, clean with soapy water. | Harsh abrasives on finished wood. |
| Painted Wood | White Vinegar | Soak cloth, place on sticker for 5+ minutes, gently wipe. | Razor blades or strong solvents. |
| Plastic | Peanut Butter or Oil | Apply, let sit 30 min (PB) or 5 min (oil), wipe clean. | Acetone or excessive heat. |
| Metal | WD-40 | Spray on, wait 5 minutes, wipe away with paper towel. | Scouring pads that can scratch. |
| Glass | Hot Water & Dish Soap | Pour water, let sit, scrub with soapy rag, dry. | Using tools that could crack the glass. |
This guide makes cleaning different surfaces straightforward. Always test your chosen method in a hidden spot first.
Preventing Future Sticker Problems on Kids Furniture
The best defense against adhesive residue on your furnishings is a smart offense. Proactive systems channel a child’s natural creativity into approved spaces.
This forward-thinking way protects your home and honors their enthusiasm. It transforms potential conflict into cooperative fun.
Setting Up Designated Sticker Zones
Create special, appealing areas just for decals. A personal canvas, a metal board for their wall, or a dedicated journal works perfectly.
Frame this as their exclusive gallery. Stickers placed here become permanent keepsakes, not temporary clutter.
Take inventory of all labels in your home. Note sources like the dentist or stores.
Store these items out of reach in clear containers. This makes access a supervised, special event.
Always guide placement until good habits form. This period is not about restriction, but shared quality time.
Your child learns respect for household surfaces while enjoying their collection. Everyone wins.
Conclusion
Managing the colorful chaos of childhood doesn’t require magic, just the right approach. You’ve seen that effective solutions often involve common items from your home. This transforms a daunting clean-up into a simple, achievable task.
The key lesson is matching your method to the furniture’s material. A gentle, patient method protects finishes and gets great results. Setting up special zones for decals helps prevent future issues while letting creativity flourish.
You’re now equipped to handle any adhesive surprise with confidence. Viewing these moments as part of a creative childhood takes the stress away. You can restore a piece and enjoy the win.